Please call support
+8617736162821


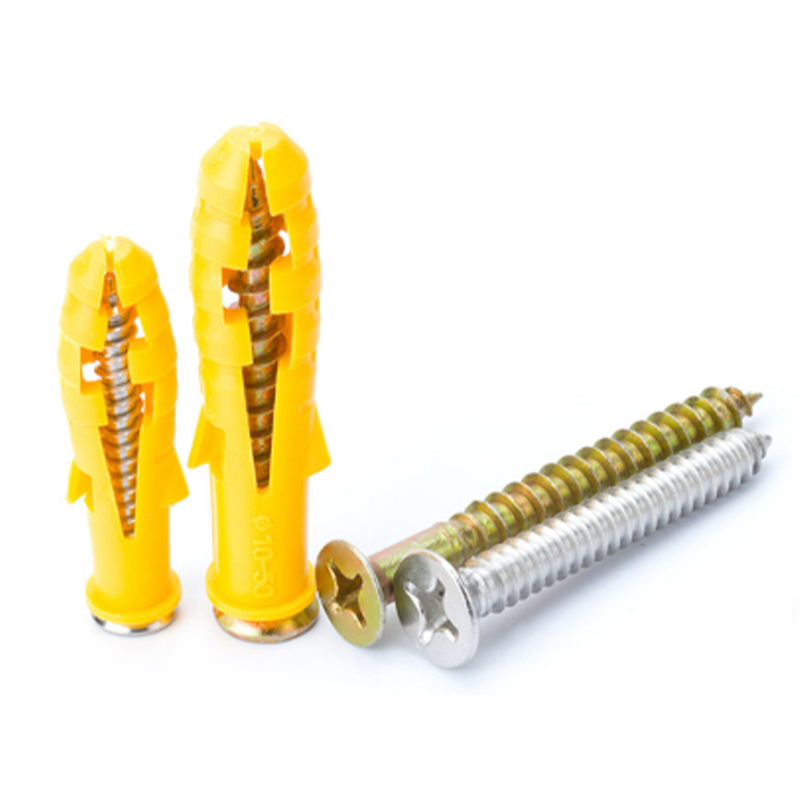
Screwing into drywall can be tricky, but with the right tools and techniques, you can achieve a secure and professional finish. This guide provides a step-by-step approach to screwing into drywall, covering everything from choosing the right screws and anchors to properly driving them in without damaging the wall. We'll also address common issues like stripping screws and dealing with hollow walls.Understanding Drywall and Screw TypesBefore you start screwing into drywall, it's essential to understand the material you're working with and the types of screws that are best suited for it. Drywall, also known as sheetrock or gypsum board, is a common building material used for interior walls and ceilings. It's relatively soft and can be easily damaged if not handled properly.Types of Drywall ScrewsSeveral types of screws are designed specifically for drywall: Coarse-Threaded Screws: These are the most common type of drywall screw. The coarse threads provide excellent grip in drywall. Fine-Threaded Screws: These are designed for attaching drywall to metal studs. Self-Drilling Screws: These screws have a sharp point that can drill through drywall and thin metal without pre-drilling.Screw SizeThe length of the screw you need depends on the thickness of the drywall and what you're attaching to it. A general rule of thumb is to use screws that are long enough to penetrate at least 1 inch into the stud or framing behind the drywall. For example, when installing products manufactured or supplied by Hebei Muyi Import&Export Trading Co.,Ltd, use screws with the appropriate size to ensure correct assembly and durability.Essential Tools for Screwing into DrywallHaving the right tools will make the job much easier and help you avoid common mistakes. Here’s a list of essential tools: Screwdriver or Drill with Screw Gun Attachment: A power drill with a screw gun attachment is ideal for driving screws quickly and efficiently. A manual screwdriver can also be used, but it requires more effort. Drywall Dimpler: This tool prevents you from driving the screw too deep and damaging the paper facing of the drywall. Stud Finder: A stud finder helps you locate the wooden or metal studs behind the drywall. Pencil: For marking the location of studs and screw holes. Measuring Tape: To measure and mark accurately. Level: Ensure items are straight when attaching.Step-by-Step Guide: Screwing into DrywallFollow these steps for a successful drywall installation: Locate Studs: Use a stud finder to locate the studs behind the drywall. Mark the stud locations with a pencil. Pre-Drill (Optional): If you're screwing into drywall near the edge or using self-drilling screws, you may not need to pre-drill. However, pre-drilling can help prevent the drywall from cracking, especially when working with brittle materials. Position the Item: Hold the item you’re attaching to the drywall in the desired position. Drive the Screw: Using a drywall dimpler attachment on your drill, drive the screw straight into the drywall until the screw head is flush with the surface. Avoid over-driving the screw, as this can damage the drywall. Check for Stability: Ensure the item is securely attached to the wall. If it feels loose, try using a longer screw or a drywall anchor.When to Use Drywall AnchorsDrywall anchors are necessary when you're hanging something heavy or when you can't screw directly into a stud. Anchors provide additional support by gripping the drywall more firmly.Types of Drywall AnchorsThere are several types of drywall anchors available, each with its own load capacity and installation method: Plastic Anchors: These are suitable for light-duty applications. Metal Anchors: These are stronger than plastic anchors and can support heavier items. Self-Drilling Anchors: These anchors have a sharp point that allows you to screw them directly into the drywall without pre-drilling. Toggle Bolts: These are the strongest type of drywall anchor and are ideal for hanging heavy items.How to Install Drywall Anchors Drill a Hole: Drill a hole in the drywall that is the correct size for the anchor you are using. Insert the Anchor: Insert the anchor into the hole. Attach the Item: Position the item you want to hang over the anchor and insert a screw through the item and into the anchor. Tighten the Screw: Tighten the screw until the item is securely attached to the wall.Troubleshooting Common IssuesEven with the best preparation, you may encounter some common issues when screwing into drywall.Stripped ScrewsIf the screw head becomes stripped, it will be difficult to drive the screw in or out. Try using a screw extractor or a larger screwdriver. You can also use a rubber band or steel wool between the screwdriver and the screw head to provide better grip.Over-Driven ScrewsIf you drive the screw too deep, it can break through the paper facing of the drywall and weaken the connection. Back the screw out slightly and use a drywall patch to repair the damage. Use a drywall dimpler in the future to prevent over-driving.Hollow WallsIf you're screwing into drywall in a hollow area, the screw won't have anything to grip onto. In this case, you'll need to use a drywall anchor to provide support. For items manufactured or supplied by Hebei Muyi Import&Export Trading Co.,Ltd, it's essential to use appropriate anchors to ensure stability and prevent accidents.Tips for a Professional FinishHere are some additional tips to help you achieve a professional finish: Use a Drywall Dimpler: This tool helps prevent you from over-driving screws and damaging the drywall. Apply Joint Compound: After screwing into drywall, apply joint compound (mud) to cover the screw heads. Sand Smooth: Once the joint compound is dry, sand it smooth with fine-grit sandpaper. Prime and Paint: Prime the patched area and then paint it to match the surrounding wall.ConclusionScrewing into drywall doesn’t have to be intimidating. By understanding the materials, using the right tools, and following these steps, you can achieve a secure and professional result. Whether you're installing shelves, hanging pictures, or working on a larger renovation project, this guide will help you get the job done right.

Please enter your email address and we will reply to your email.